This post explains how to install MySQL server on Windows 7 computer.(The steps apply to other Windows versions also like XP, Server 2003, Server 2008).
Firstly, download the latest MySQL installer from the below link.
//dev.mysql.com/downloads/mysql/
Download the MSI Installer(32 or 64 bit based on your computer model. If you have 64-bit computer and OS, you can install either 32bit or 64 bit MySQL)
Below are the installation steps:
- Run the installer.
- You will see a welcome screen that says “Welcome to the MySQL Server 5.5 setup wizard”.

- Click on the next button.
- Read and accept the end user license agreement. Click on Next button.
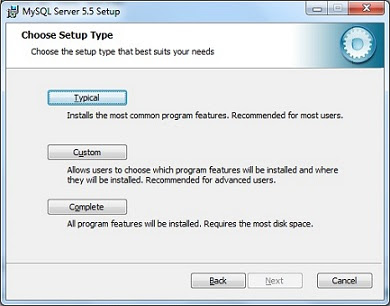
- Now you need to select the installation type.

- Select Typical. In the next window click on the install button. Now you will see a window showing installation progress.

- Close if any window like ‘MySQL enterprise subscription’ pops up. This window is not related to the installation.
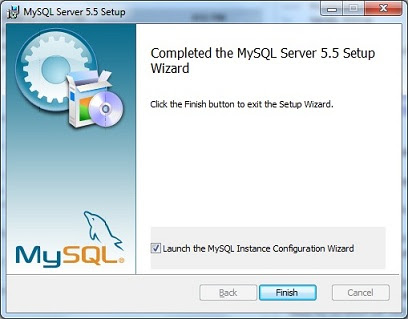
- Now the installation is complete.

- Click on Finish button.
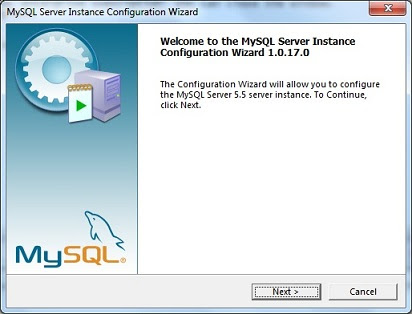
Now we are done with only installation. We also need to configure MySQL server, set root password etc. After clicking on the ‘Finish’ button in the setup wizard, MysQL configuration wizard will open automatically.

- click on Next button in the configuration wizard.
- Select standard configuration. Click on Next button.
- Now select Install as Windows Service. This is the default option. Click on Next button.

- Now set the root password for your MySQL server. Click on Next button.
- Click on Execute button. This will configure your MySQL server.
- After configuration is done click on Finish button. Now your MySQL server is ready for use.
The above steps create a shortcut to MySQL command line client in your Start Menu. you can also open it from Start->Program Files->MySQL.